260 Build Update #3
On with the Sheeting. I did the Belly Pan, Hatch, both H-Stabs, Rudder and Turtle Deck in that order. Then I got help from Dan to do the wings.
I used the method I like best for spreading the glue is a small foam roller that you can get at Walmart. This really gets a nice thin layer of glue evenly all over the sheet. Just keep rolling until the sheet turns a uniform color and you don’t see any big globs of glue left on it. For the wings I think I used 6oz of glue and at least 1oz of that is waste that ends up in the roller. So at most there is 1.25oz of glue on each skin. Each wings had at least 400lbs on it.
I put parchment paper between the shucks and the skins. The upside of this is glue can’t get through the skins. The downside is the parts tend to move around very freely until the weight is applied. Take some care and time to align the part with the shucks so its sits square. I used about 300 pounds of weight on all of the other parts in the form of various concrete blocks I got for a few cents each at Home Depot. Even with all that I didn’t get good adhesion around the edges of some parts. I guess the gap between the shuck and the part was just wider there.
You want to take some care with the rudder sheeting alignment. I just joined the Fin and Rudder sheeting parts with masking tape over the plans so that they covered up the whole rudder. Put the foam over the plan and make some reference marks so you know approximately where you want the sheeting to lay down. Try and get the seam to run through the area that will be cut out for the hinge line. Don’t do anything stupid when cutting off the excess sheeting. Use a sharp blade and then a sanding block to make it smooth. I chipped some parts with a dull blade and I’m regretting it now. A hobby saw works well for the curves.
So I’m sure you can see the holes in some of the parts. The hatch, belly pan and turtle deck are all cosmetic parts. They don’t contribute much in the way of strength to the model. So they make great targets for lightning. I’m going to guess that I saved about 5oz off the airframe and much of that is from behind of the CG. This technique leaves the part fully sheeted so its easy to cover but it avoids large chunks of foam and the glue that goes with it. Here is the HowTo:
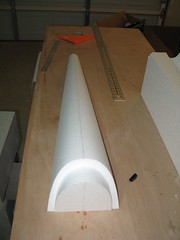
Mark a reference line down the center of the part and the center of the sheeting.
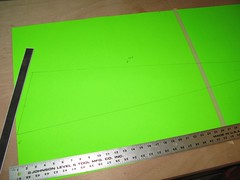
Make a template of the boundaries of 1/2 of the part.
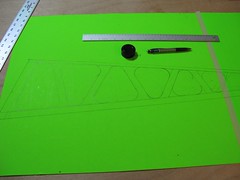
Draw your cutouts on the template and cut them out. Be smart, do triangles or cut in the same direction as the surface curvature.
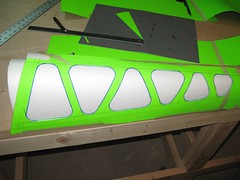
Place the template on the reference line and mark the cutouts. Flip and repeat for the other side.
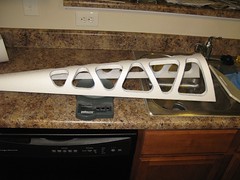
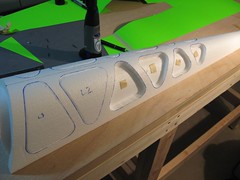
Cut out the foam with a Dremel router or hot wire tool. IMPORTANT: Keep the tool perpendicular to the surface. Put cutouts back into place with a loop of tape.
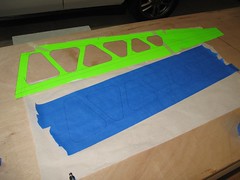
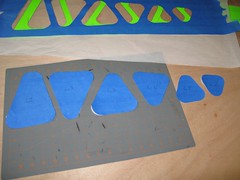
Place overlapping strips of masking tape on parchment paper and cut out shapes.
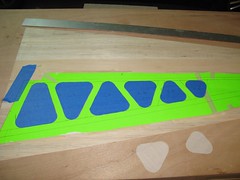
Use the template to position the cut out tape over the part.
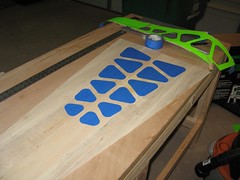
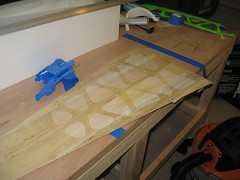
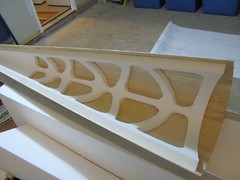
Then just spread glue as normal, peel off the tape and carefully align the foam part with the reference mark on the skin. Set up the part in the shuck as normal. When the glue dries you will have to pull out the routed foam pieces, none of mine stuck to the wood.
I tried a few different procedures on the hatch and belly pan. The above steps are more involved but the result is the best. The turtle deck isn’t trimmed yet and it weighs 2.5oz (72g). 20g of foam was removed. I don’t know how much I saved on glue because I had to work fast and didn’t get the parts on the scale.
